Create a Layout
Last updated

Last updated
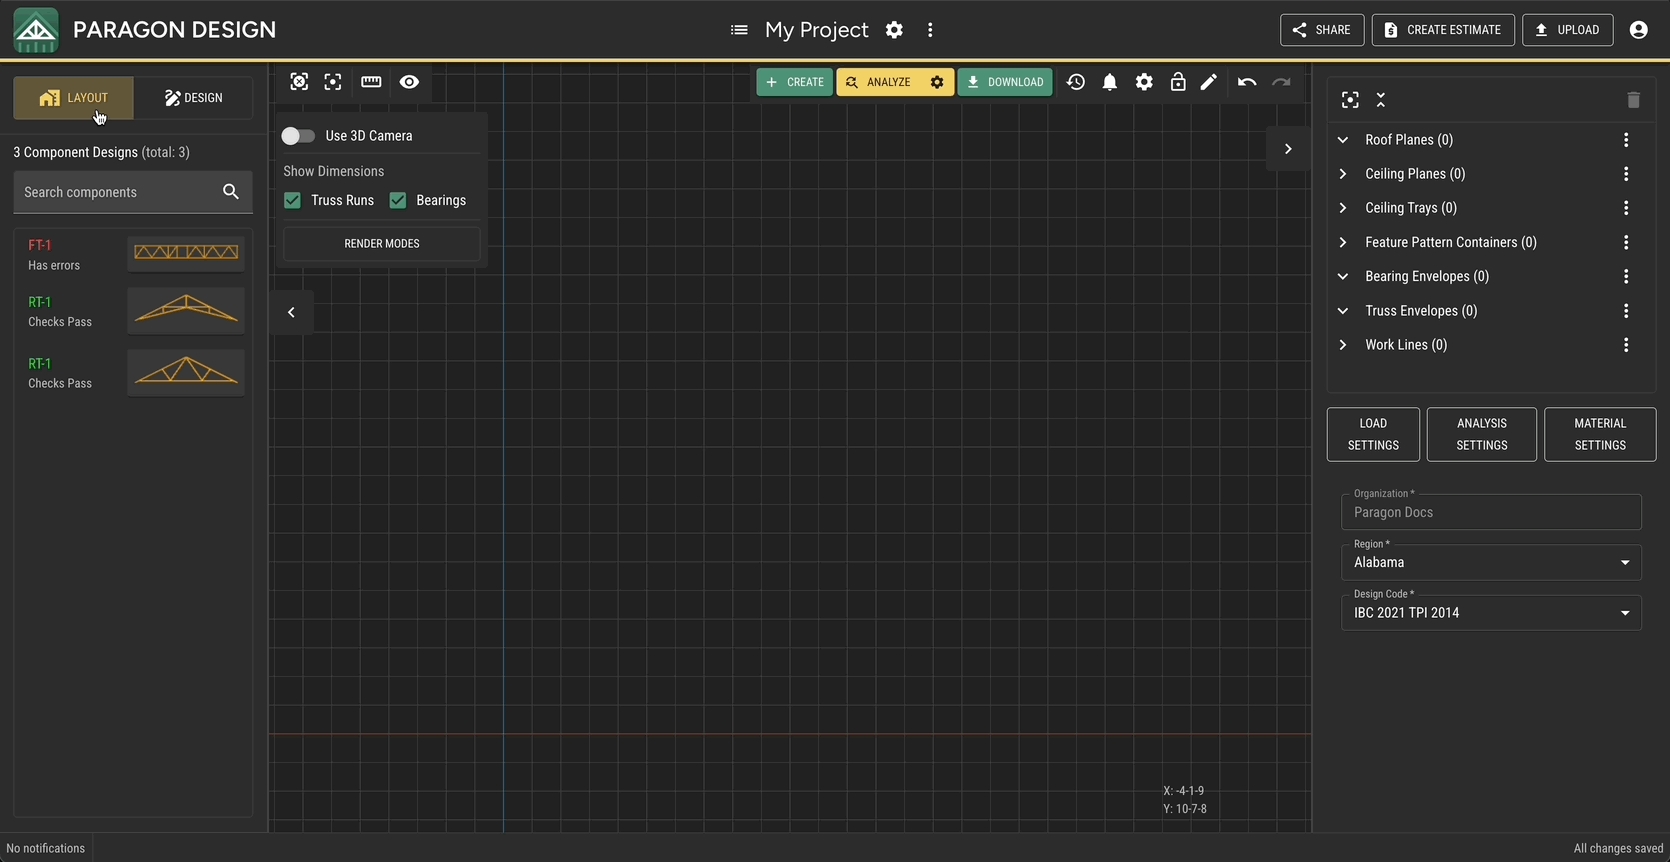
This section will walk you through the many tools available for creating a layout. All of the How-Tos here assume you are in Layout Mode. To enter this mode, use the View Toggle in the Left Sidebar to swap from Design to Layout.
Begin insertion by clicking the + Create button, right-clicking in empty space, or using the Ctrl + Qkeyboard shortcut and selecting Bearing Envelope
Tip
You can use the Ctrl+Q+B keyboard shortcut to begin inserting a component.
Use the Bearing Envelope Creation subpanel to insert your walls.
Begin insertion by clicking the + Create button, right-clicking in empty space, or using the Ctrl + Qkeyboard shortcut and selecting Roof Plane.
Tip
You can use the Ctrl+Q+R keyboard shortcut to begin inserting a component.
When the Roof Plane Creation subpanel opens, Picking mode is enabled by default. Hover over the wall you wish to place a plane on and click the outside line to insert a roof plane.
Once all planes have been inserted, they need to be cut to determine geometry. Click Cut Plane in the Right Sidebar or right-click the roof plane to access the quick actions. Once in cut mode, pick other planes to cut against. Click Finish Cutting to end cutting.
Tip
Hold Shift to cut against any line vertically.
Begin insertion by clicking the + Create button, right-clicking in empty space, or using the Ctrl + Qkeyboard shortcut and selecting Truss Envelope.
Tip
You can use the Ctrl+Q+E keyboard shortcut to begin inserting a component.
Once the Truss Envelope Creation subpanel is open, pick your desired envelope location in the scene. Use the snapping settings to customize.
Tip
Use INSERT AND REPEAT to quickly enter trusses one by one or use INSERT AND START RUN to insert multiple trusses at once.
Right-click a Truss Envelope and click Create a New Design to generate a design for that envelope or click the Project Menu and select Design All Truss Envelopes to generate designs for all unfilled envelopes.
This will be the same as Step 1 for a Roof Layout.
Begin insertion by clicking the + Create button, right-clicking in empty space, or using the Ctrl + Qkeyboard shortcut and selecting Feature Pattern Container
Tip
You can also use the keyboard shortcut Ctrl+Q+F to quickly begin inserting a Feature Pattern Container.